


safestyle range available now
- Protective Safety Glasses
- Certified, Polarised & Protective
- 12 options to suit anyone!
- Available instore & online
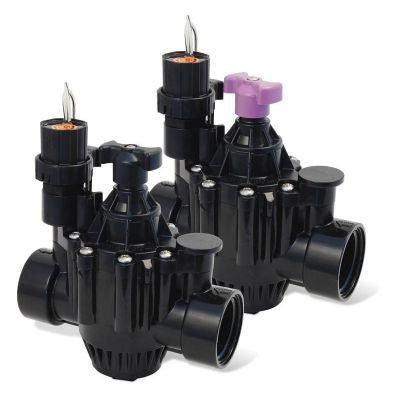
Between the main water supply and the zone of sprinklers it will control.
Some lawn layouts call for valves to be spread out individually or in small groups. Others are more suited to a grouped or manifold approach. Once you have your measurements, our team can help you put a plan together and tell you the best place for your solenoid valves.
House valves in valve box to make repair and maintenance more convenient.
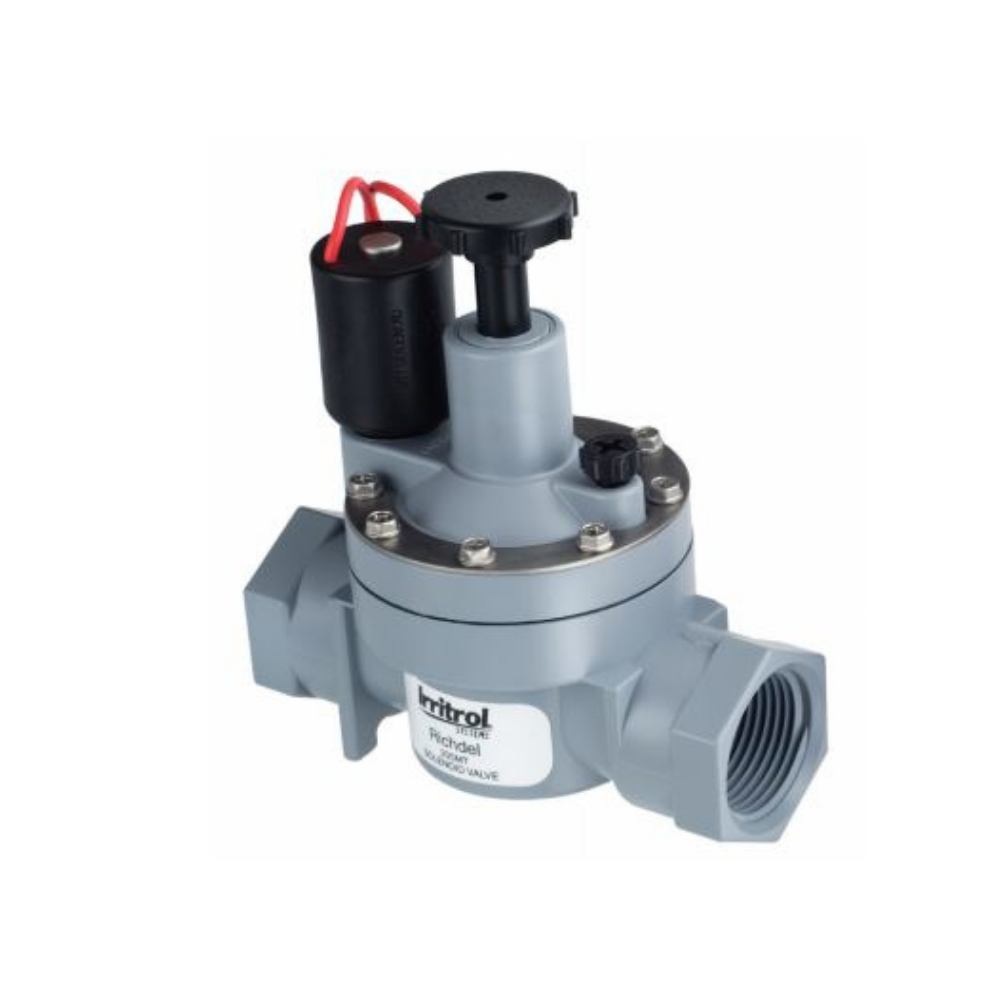
All valves are marked showing the direction of flow. The arrow should point toward the sprinklers and in the direction of the water flow.
Upstream Water Supply Line < Valve > Sprinkler Locations
The actual method of connecting the valve to the pipe network will depend on what type of pipe you're using.
Most irrigation systems are built with either, black low density poly pipe which comes in a roll, or rigid PVC pipe
Flexible pipe connections usually involve sliding the pipe over a fitting and securing it with ratchet clamps.
PVC installations use primer and glue.
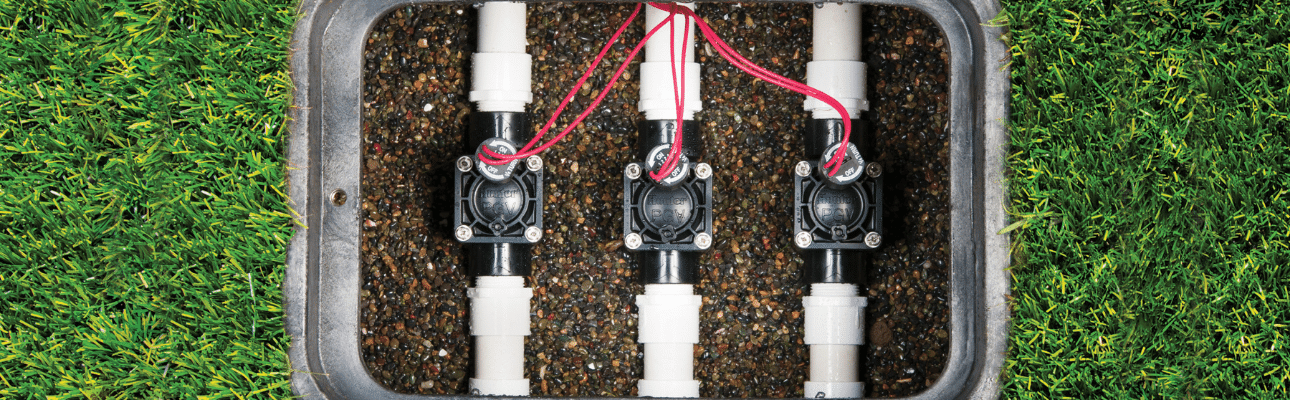
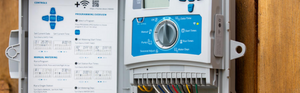
Connect the wires on the valve solenoid to one colour-coded wire and a common wire which runs from the valve to the controller.
Use waterproof joiners. If this is a spot where you are installing two or more valves, use multiple line cables to connect to the controller. The cable needs one wire for each valve, plus one more wire to act as the common.
For example, if you have three valves in one valve box, you will need four line cables running from the box to the controller. Most installers use the black wire as the common, and then 3 coloured wires will connect each of the valves to the controller.
The colour-coded wire connects to a numbered zone connector, and the common wire connects to the common connector.
After the zone pipe network is complete and the sprinklers are installed.
Turn any valves on, then manually activate the valve according to the manufacturer's instructions.
This normally involves turning the solenoid a quarter turn or opening a bleeder valve. If the valve does not leak and operates as expected, close the valve and proceed.
Activate the zone number corresponding to the newly installed valve according to the instructions for your controller. The valve should open and water should flow to the sprinklers.


Call us now
|
Call us now |
|
|
Call us now |
|
+48 555 523532532555 555 |
Comments 0