safestyle range available now
- Protective Safety Glasses
- Certified, Polarised & Protective
- 12 options to suit anyone!
- Available instore & online

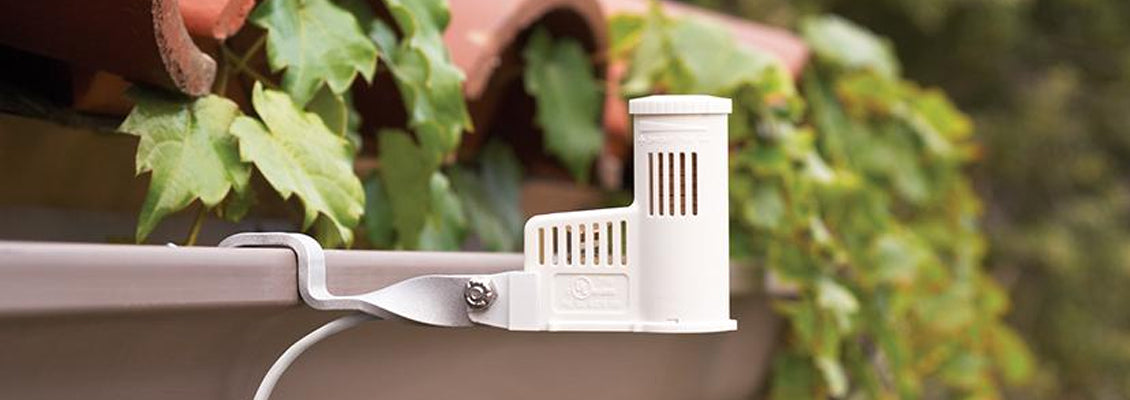
Irrigating a landscape during a rainstorm not only results in oversaturated plants and turf, it also wastes water. Hunter's MiniClik is our most popular rain sensor and provides the simplest, most effective way to prevent sprinklers from running during or after any level of rainfall.
Learn how to install and wire your rain sensor here.
In most installations, the Mini-Clik acts as a switch to break the circuit to the solenoid valves of the irrigation system when it has rained. This allows the timer to advance as scheduled, but keeps the valves from opening the water flow.
Once the Mini-Clik has dried sufficiently, the switch closes again to allow for normal operation.
Helpful hints for mounting you Sensor:


The Miniclik comes with a bracket and screws that can be mounted to any wall or structure. Alternatively you can purchase the optional Miniclik gutter mount which allows for installation to your gutter.

Installation
Once the Mini-Clik is mounted, run the wire to the controller, and fasten it every few feet with wire clips or stapled for best results.
Wiring

The Mini-Clik has 25' (8 m) of cable attached to it. The cable terminates with blue leads. These leads will be wired to the SEN terminals or SEN and SEN COM terminals of the controller. The order in which they are wired does not matter. Remove the jumper from the two SEN terminals.
Adjustments and Operation
The Mini-Clik can keep the irrigation system from starting or continuing after rainfall quantities of 1/8", 1/4", 1/2", or 3/4". To adjust it to the desired shutoff quantity, rotate the cap on the switch housing so that the pins are located in the proper slots. Do not forcibly twist the cap as this might break the pins. The time that it takes the Mini-Clik to reset for normal sprinkler operation after the rain has stopped is determined by weather conditions (wind, sunlight, humidity, etc.)

These conditions will determine how fast the hygroscopic discs dry out, and since the turf is also experiencing the same conditions, their respective drying rates will roughly parallel each other. So when the turf needs more water, the Mini-Clik is already reset to allow the sprinkler system to go at the next scheduled cycle. There is an adjustment capability on the Mini-Clik that will slow down the reset rate. By turning the “vent ring” to completely or partially cover the ventilation holes, the hygroscopic discs will dry more slowly. This adjustment can compensate for an “overly sunny” installation location, or peculiar soil conditions. The experience will best determine the ideal vent setting.


Call us now
|
Call us now |

|
|
Call us now |
|
+48 555 523532532555 555 |
Comments 0