


- Home
- Plan & Install Irrigation
- How to: Plan & Install a Sub-Surface Lawn Drip System
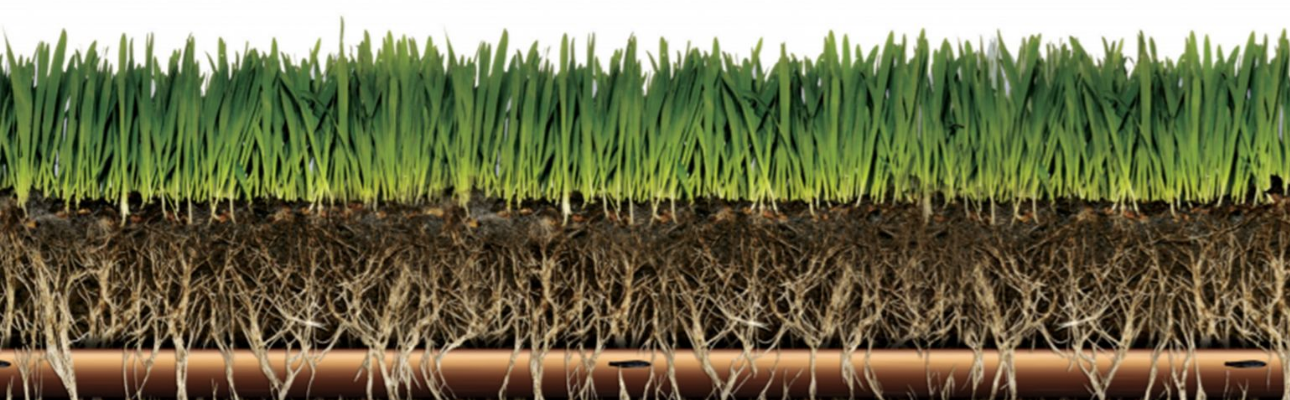
How does sub surface drip irrigation work?
Sub-surface - meaning underneath or below the surface - is drip irrigation installed below the lawn and works by delivering water slowly and directly to the roots of your turf via drip emitters. The high efficiency of drip irrigation results from two primary factors.
- The first is that the water soaks into the soil before it can evaporate or run off.
- The second is that the water is only applied where it is needed, rather than being subject to wind.
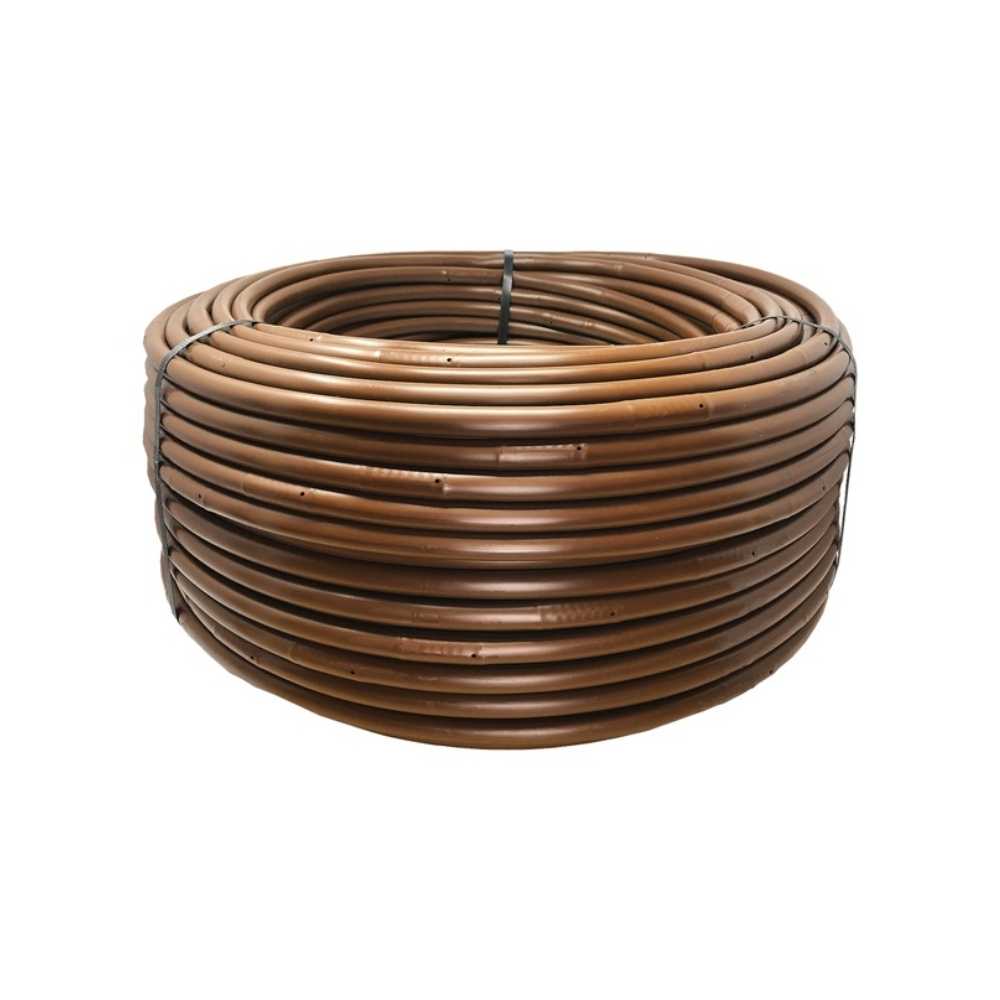
Sub-surface drip systems use an emitter line treated with herbicide to prevent roots from growing into the tubing (Techline AS XR) placed parallel to each other about half a foot below the soil.
Drip line is best laid in a grid for lawns to allow uniformity of water coverage
What are the required components? (From Tap to Line Flush Valve)
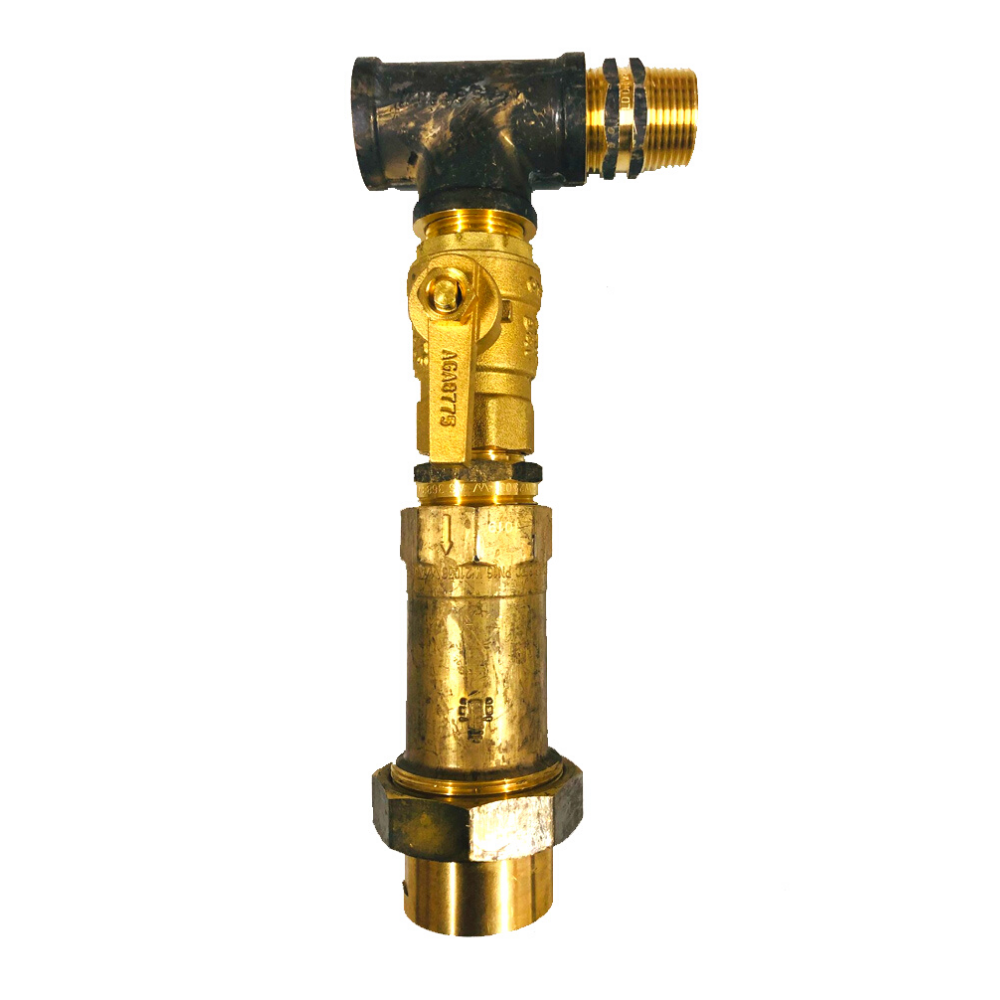
- 1. Backflow Prevention Device
- 2. Tap Timer
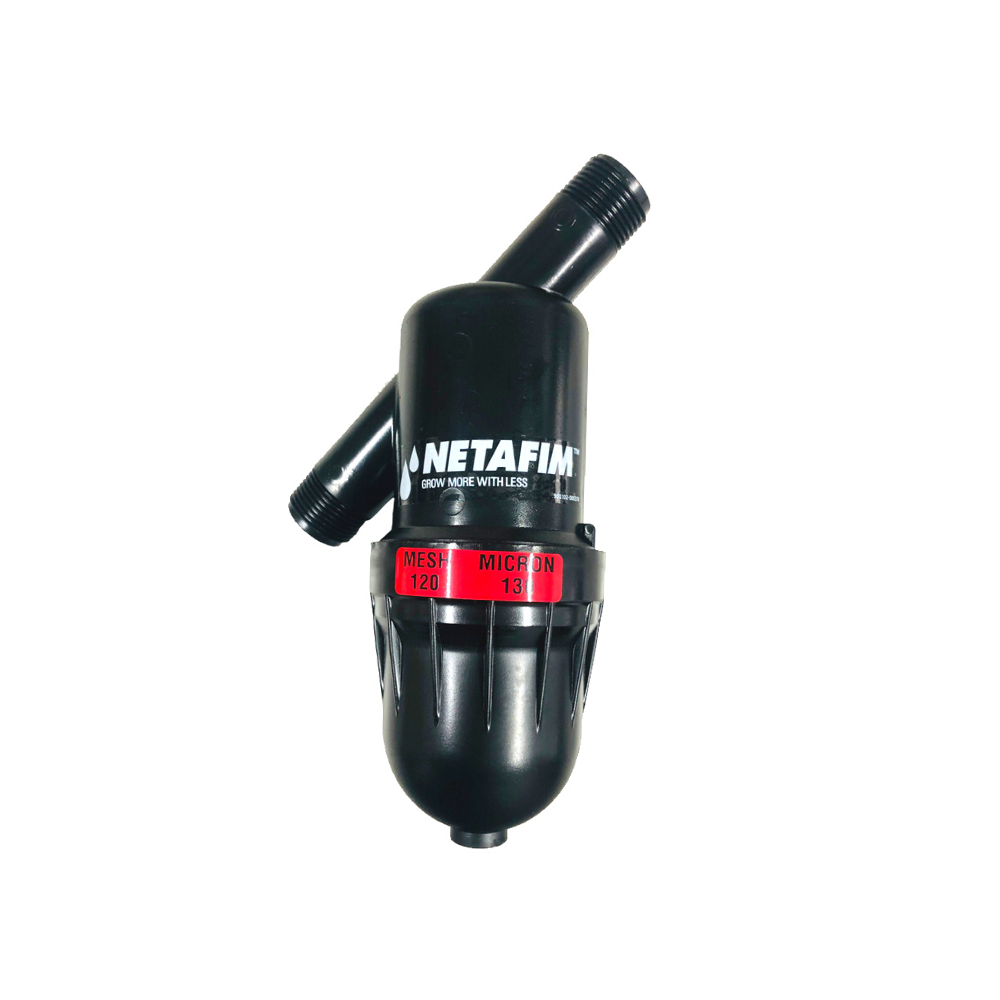
- 3. Disc Filter
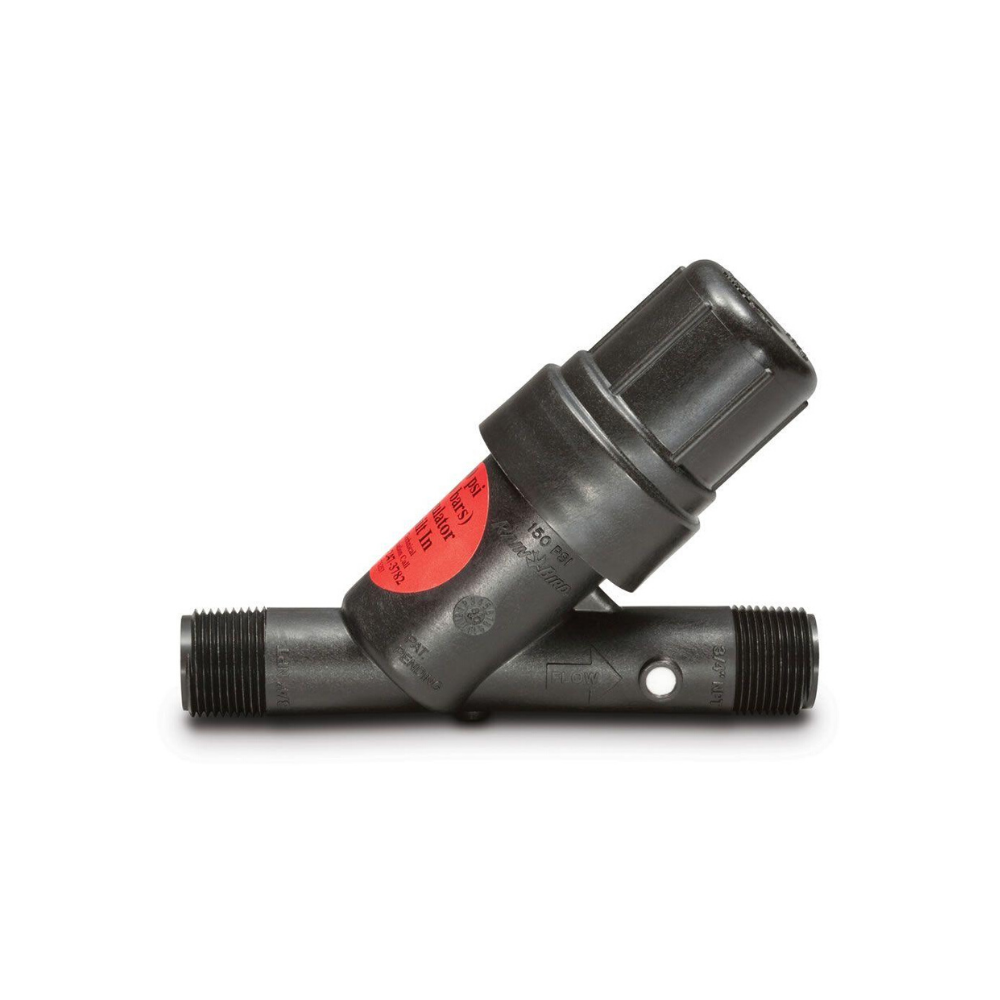
- 4. Pressure Reducing Valve
- 5. Air Release Valve
- 6. Low Density Poly Pipe
- 7. Sub-Surface, Pressure Compensating Dripline
- 8. Wire Pegs
- 9. Appropriate adaptors and fittings
- 10. Automatic Dripline Flush Valve
For more information, see 'What Accessories Do I Need for a Drip Irrigation System', please click here or continue reading!
Below is a typical set up including all the elements of drip and where they are to be installed.
Backflow Prevention Valve
Prevents back siphoning of non-potable water into the water supply and come in a range of varieties.
All Australian state water authorities require back-flow prevention devices to be used on all fixed and automated irrigation systems.
Disc Filter
You must use a filter. Drip emitters have very small openings that can become clogged. City water is not free from particles that will clog your drip emitters. For larger areas, use at least a 120 Mesh Disc Filter which should be installed after the backflow valve and before the pressure reduction valve.
Pressure Reducing Valve
If you are coming off a mains water supply you must use a Pressure Reduction Valve (PRV). Dripline is intentionally made from weak walled poly pipe so that is extremely flexible for ease of installation. A PRV must be installed to reduce the pressure inside the dripline. The PRV is installed after the filter and after the solenoid valves in an automatic system.
Air Release Valves
Are essential protection for the system and should be installed at the highest point of the system. The purpose of the air release valve is to:
- allow air into the system once it is turned off;
- prevent the drippers from sucking in air and possible soil particles when the system is turned off and the water in the system drains out through the lowest point.
Automatic Dripline Flush Valves
Should be installed at the lowest point of the system; this is to allow any rubbish that may have made its way into the system to prevent blocking the drippers. Its worth noting that the flush valve lets about 2L of water out each time the system turns on.
Wire Pegs
All of the different types of drip line should be staked at least every 2 meters. This is because the pipe will expand and contract with changing temperature which will push it up through the mulch if it is not staked down.
Before you get started there are a couple of things you need to do:
- Measure your water flow rate from the water source you will be using.
- Draw a plan of the area you want to water to map out where your dripline will be placed.
For more information on flow rate and drawing plans please click here.
How do I install it?
While drip systems are simple to design and install, there are some basic guidelines to follow that will assist your drip system to work efficiently.
The soil type dictates how far apart each run of Drip line should be installed and therefore how much Drip line is necessary for each site. If the spacing of the Drip line is wrong the system will not work efficiently. Once the correct spacing has been decided the meterage can either be paced out on site or if a scale drawing is available the meterage can be worked out very quickly from the square meterage of the gardens. It is crucial that you determine what type of soil you have before you decide which product is best for you. As an example the standard spacing for installation of Techline, Scapeline and Miniscape is 300mm, but:
- If the your garden beds are sandy the water will drain straight down and this will mean that you need to install the runs length of drip line closer together at around 150mm.
- If your gardens have high clay content the water will remain closer to the surface and the runs could be spaced out at 500mm.
Sub-Surface Turf Dripline is best installed in a grid pattern that includes a header and collector pipe in 19mm poly pipe. This will provide the most efficient system as well as providing the best locations to install air release and flush valves.
Was this article helpful?
Leave a comment
Related articles
-
 Posted on: Jan 13, 2023
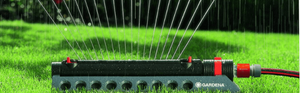
How to: Adjust a Hunter MP Rotator Nozzle
-
 Posted on: Jan 13, 2023
How to: Choose the Correct Portable Sprinkler
-
 Posted on: Jun 23, 2021
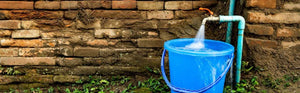
How to: Perform a "Bucket Flow Test"


Comments 0