


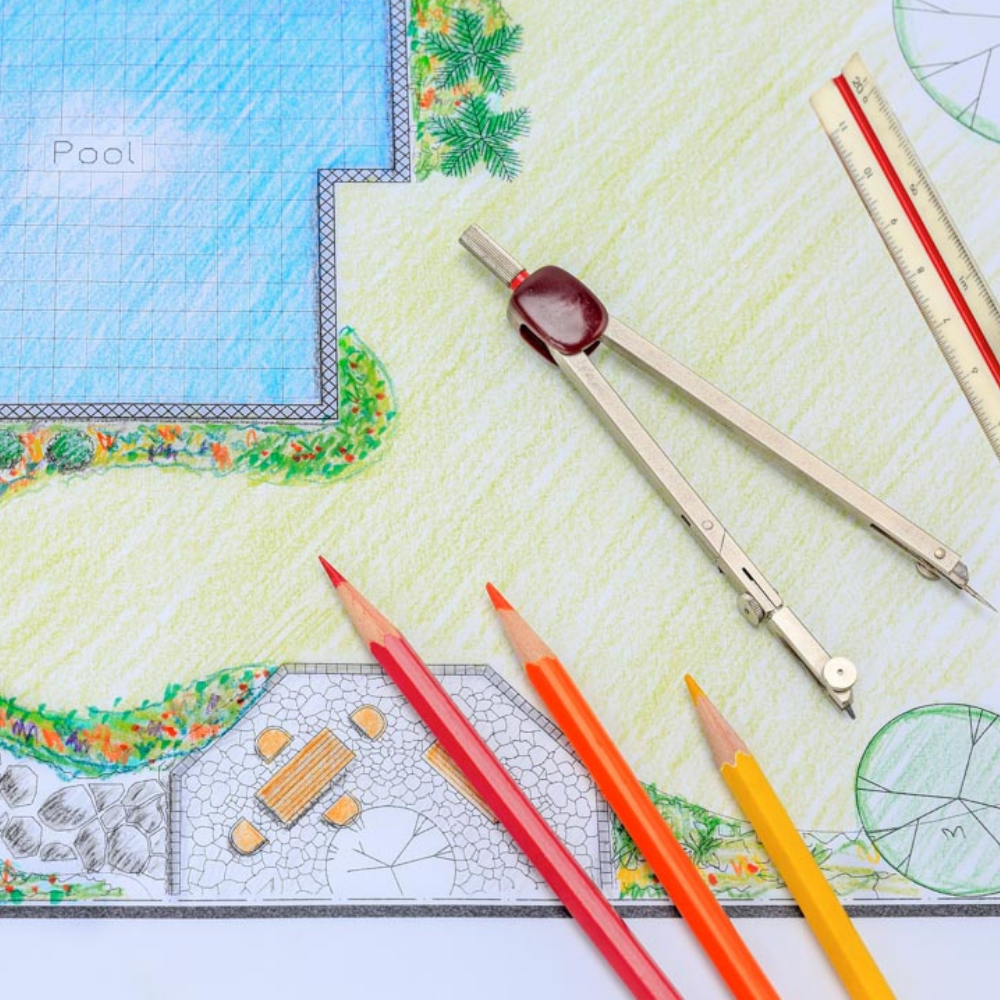
design consultation services
- Expert advice and qualified technical support
- High quality, professionally designed irrigation plan
- Full quotation and recommendation of system components
- No-fuss returns & warranty resolutions
Below is a basic diagram representing the sequence of components when installing a three station automatic system, although the principal remains the same for any number of stations.

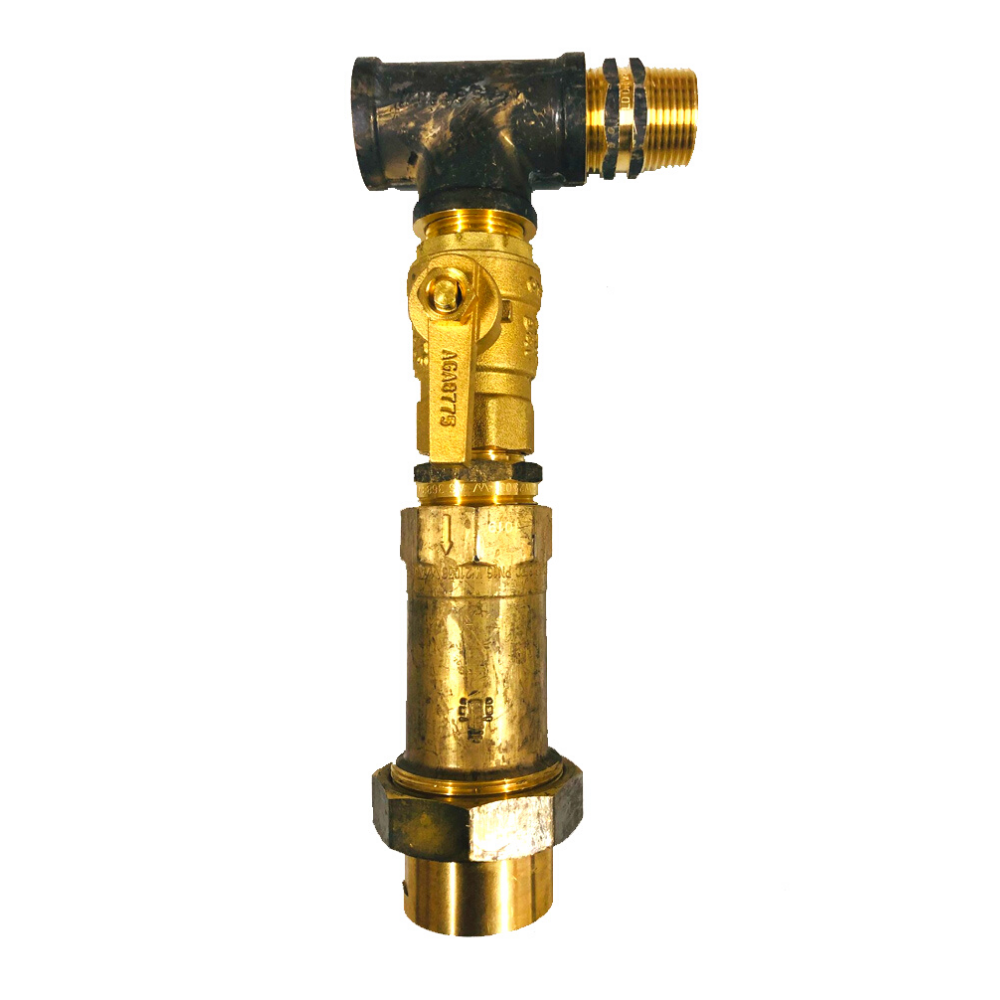
Backflow Prevention Kit: All water authorities require back flow prevention devices to be installed on all irrigation systems. They prevent back siphoning of non portable water into the water supply. The back flow kit includes the back flow device, brass tee, brass nipples and quick action tap for isolation. Simply remove your garden tap, install the back flow kit and reinstall tap which now becomes free for other watering uses.
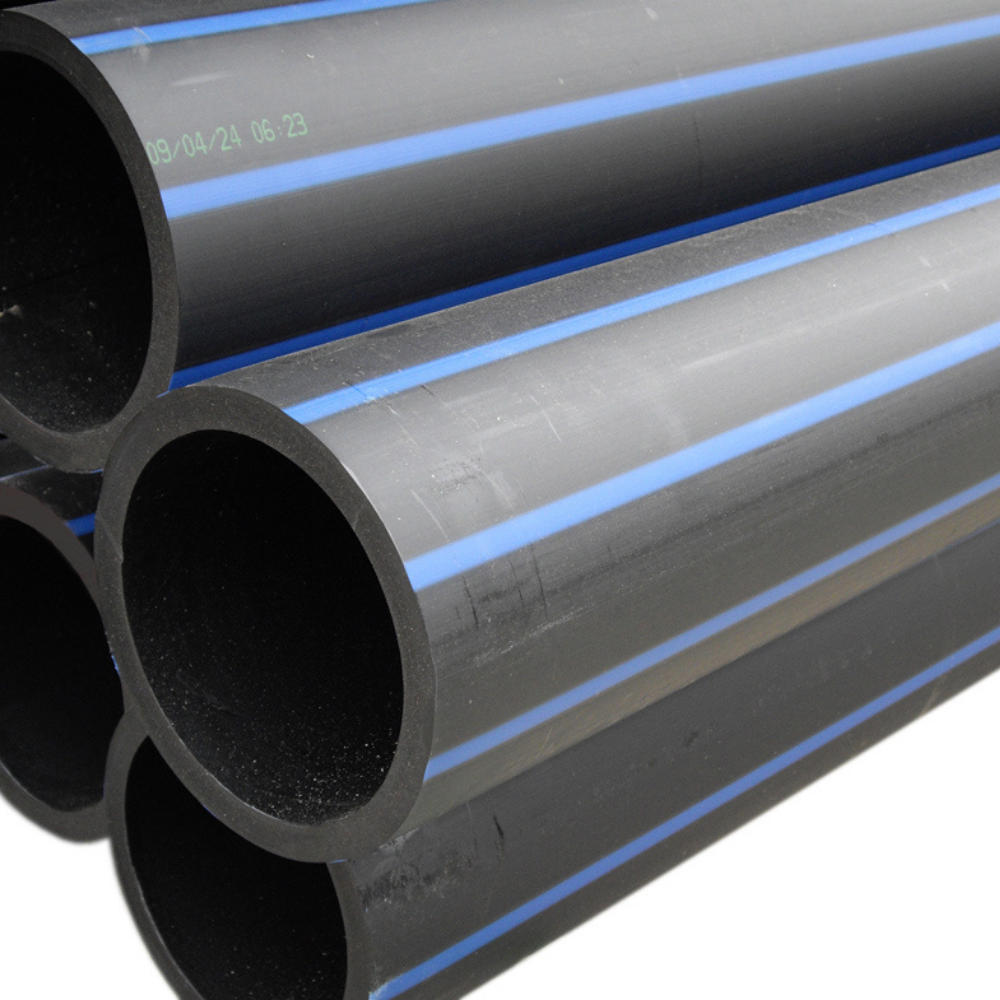
Metric Blue Line Pipe & Fittings: It is necessary to have high pressure pipe from the water supply to the manifold. This section of the system is under constant static pressure due to the valve/tap being constantly open. From the back flow kit you will require a metric male end connector to your blue line pipe and metric female elbow at the other end connecting to your manifold.
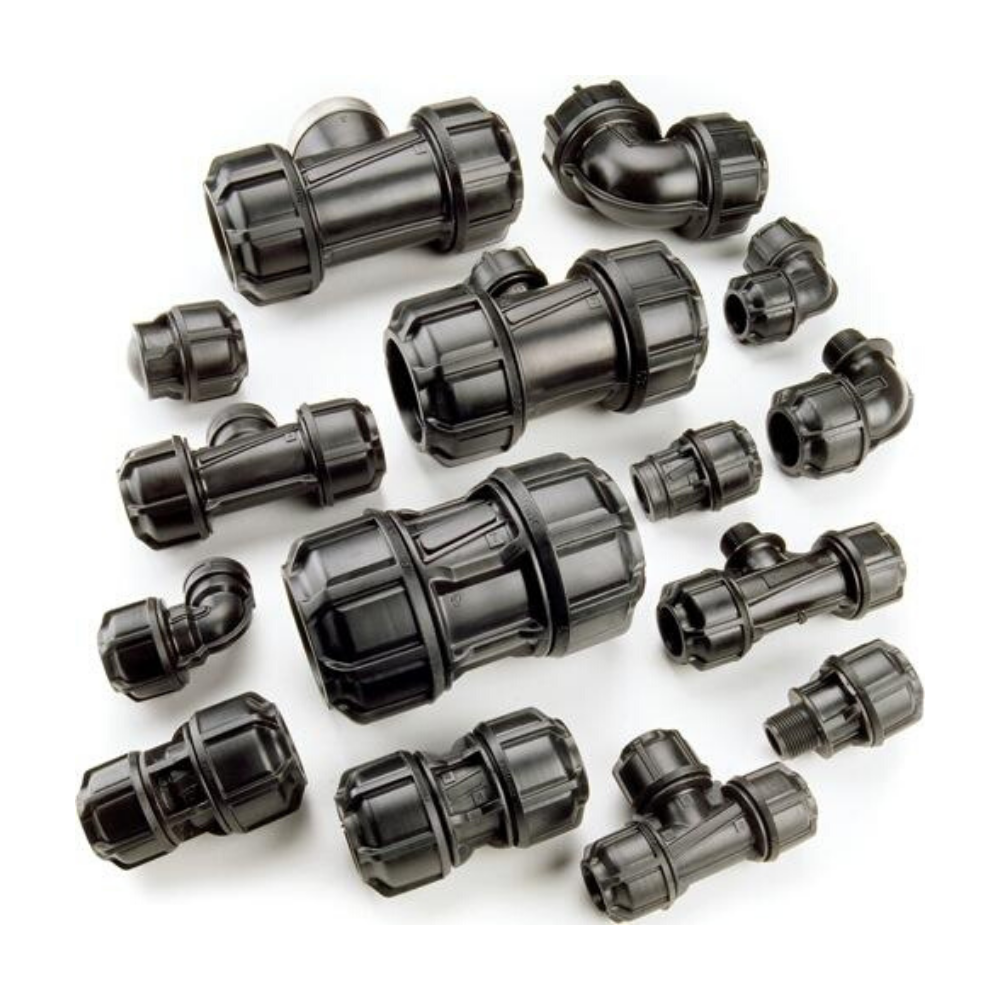
Manifold Kit: A manifold station allows a bridge connection to your solenoid valves. These connections are perfect for a valve box, as they can be removed without cutting the manifold. All manifold fittings seal onto a rubber o-ring. The O-ring must be installed facing down.
Solenoid Valves: Valves are fitted to the manifold station and connect to the controller. Solenoid valves control the water flow to each zone of your irrigation system automatically. When connecting your valves to the manifold, make sure the arrow is pointing downwards representing the direction of flow. Manual operation of valves is an option. For instruction on wiring your solenoids to the controller please click here. From the end of your valve you will need a director fitting to connect to your low density pipe.
Scotchlok Joiners: Connect 2-3 wire ends insulating the connection and providing a moisture resistant seal. One wire from each solenoid connects to one wire from the cable. The 2nd wire connects to the common wire from the cable which is daisy chained through the joiners.
Multi Core Cable: Cable connects the automatic controller to solenoid valves via the wire joiners. Each wire is a different colour for easy identification. The size of cable depends on the number of valves required, one wire per valve plus one common wire (usually black).
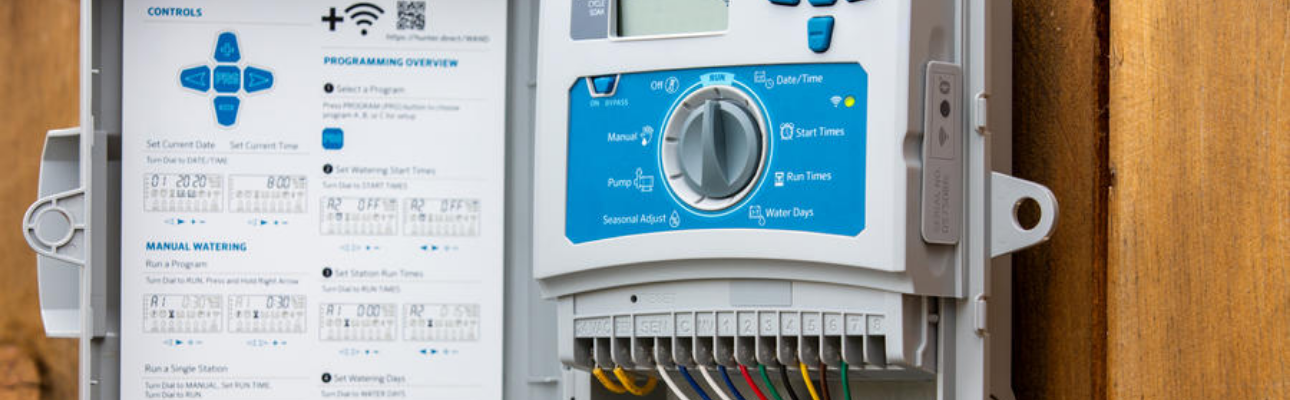
Irrigation Controller: Essentially a computer that you program to control your irrigation system automatically. Inside the controller cabinet are labelled terminals for easy identification for the wire connections. Depending on the size of your controller depends on the number of accessible terminals. Most controllers will have the following terminals.

Comments 0